Build a Simple Indoor Bench: Step-by-Step with Materials and Methods Compared
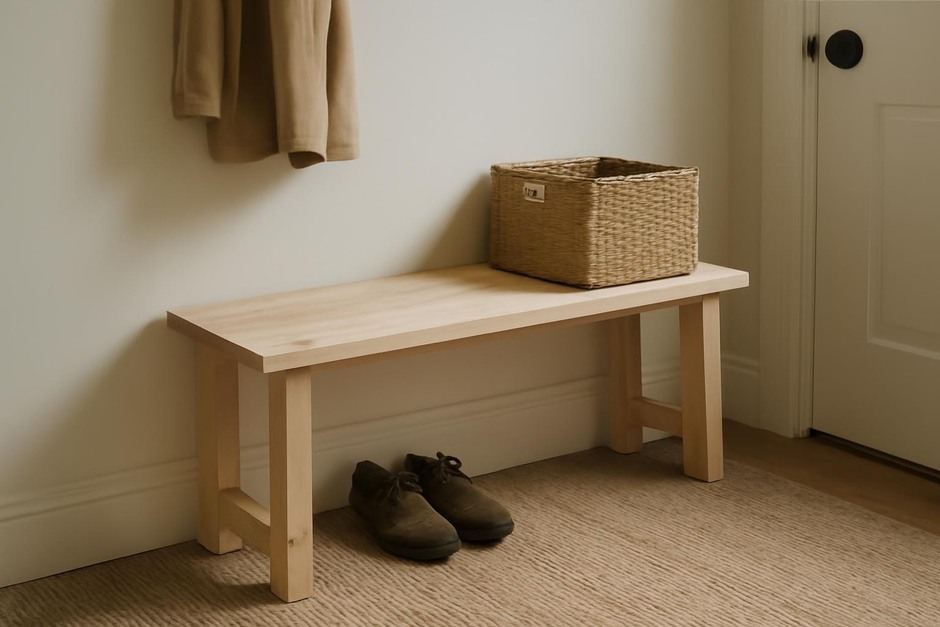
Overview
This guide walks through building a compact indoor bench suitable for an entryway, hallway, or bedroom. It focuses on practical choices: which materials to use, how different fastening methods change look and longevity, and a clear step-by-step build method. After the build steps you will find several design variations and a troubleshooting section covering common issues.
Materials and method trade-offs (brief)
Before you begin, choose your material and fastening approach based on these trade-offs:
- Solid hardwood (oak, maple) — Durable and attractive; heavier and more costly; requires better tools for clean edges.
- Softwood (pine) — Affordable and easy to work; dents more easily and expands with humidity.
- Plywood (birch/plywood board) — Stable, smooth faces; good for simple modern looks and concealed joinery; edges may need banding.
- Reclaimed wood — Characterful and eco-friendly; size and straightness vary; may need extra preparation.
- Metal frame with wooden top — Strong, slim profile; requires metalworking or pre-made frame; adds industrial look.
Fastening methods:
- Screws and glue — Fast and reliable; visible screw heads can be countersunk for a clean look.
- Pocket holes — Quick, strong joints with hidden fasteners; needs a pocket jig or careful drilling.
- Dowels or mortise-and-tenon — Traditional and tidy; more time and precision required.
Step-by-step build method (for a 100–120 cm bench)
- Plan and measure: Decide bench length (100–120 cm typical), seat depth (30–40 cm), and height (40–45 cm is standard seating height). Sketch front, side and top views and note material thickness.
- Cut materials: Cut a top board to length and two legs per side (or four legs if using standard corner legs). If using plywood, you may cut a 30–35 cm wide top and add an underframe from 45 x 45 mm timbers.
- Prepare leg supports: If you plan an underframe, cut four stretchers: two long (bench length minus twice leg thickness) and two short (seat depth minus leg thickness). These form a rectangle under the seat for rigidity.
- Assemble frame: Attach stretchers to legs using your chosen method. For most beginners, a combination of wood glue and 4 cm screws (countersunk) works well. Pre-drill holes to avoid splitting. Check for right angles with a square.
- Attach the top: Place the seat board on top of the frame. Secure from beneath with wood screws that bite into the underside of the seat, or use angled screws through the apron so screw heads remain hidden.
- Sand and finish: Sand all surfaces progressive from 120 to 220 grit. Apply a finish appropriate to the material: oil or wax for natural wood, water-based lacquer for plywood, or paint for a colored finish. Let dry and recoat if needed.
- Add optional touches: Cork or felt pads on feet to protect floors; a thin cushion or upholstery if you want a softer seat; hooks or a small shelf under the top for storage.
Variations
Minimal floating top
Use a metal frame sized slightly in from the edge and a thinner top board that overhangs by 1–2 cm. This yields a lighter look and hides fasteners. Trade-off: requires a metal frame or precise joinery.
Storage bench
Make the top a hinged lid and build deeper sides to create a box. Add soft-close hinges if you prefer safety. This increases complexity but adds storage value.
Plywood modern bench
Use a single bent plywood piece or a plywood top with tapered legs. Plywood reduces visible joinery and gives a contemporary appearance; edge banding is recommended for a finished look.
Reclaimed timber rustic bench
Pair reclaimed slats with simple metal brackets. The wood’s irregularities become the feature. Expect extra sanding and possible treatment for pests or dirt.
Troubleshooting
- Wobbly bench: Check that legs are flush and the frame is square. Tighten fasteners and consider adding a diagonal brace or cross member for rigidity.
- Split wood when screwing: Pre-drill pilot holes slightly smaller than the screw shank. For end grain, use shorter screws or add glue blocks to spread the load.
- Uneven seat or sagging top: Ensure adequate underframe support; increase thickness of the top or add center supports for longer benches.
- Visible screwheads: Countersink and plug holes with wood dowels or filler, then sand flush before finishing.
- Finish blotching on softwoods: Apply a sanding sealer or wood conditioner before staining to help even absorption.
Building a simple indoor bench is a manageable project that offers useful practice in material selection and joinery. Choose the combination of cost, look, and effort that suits your space, and adapt the basic method above to create a bench that fits your home and daily use.